Foundationatio Manager / Document Workbench Configuration
Access Foundation
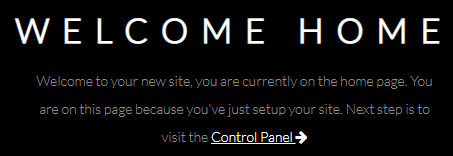
To access the Foundation Service,
-
Select Foundation Manager from the sysadmin portal.
-
Click Control Panel
-
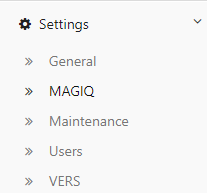
Select Settings > MAGIQ
Workbench Settings
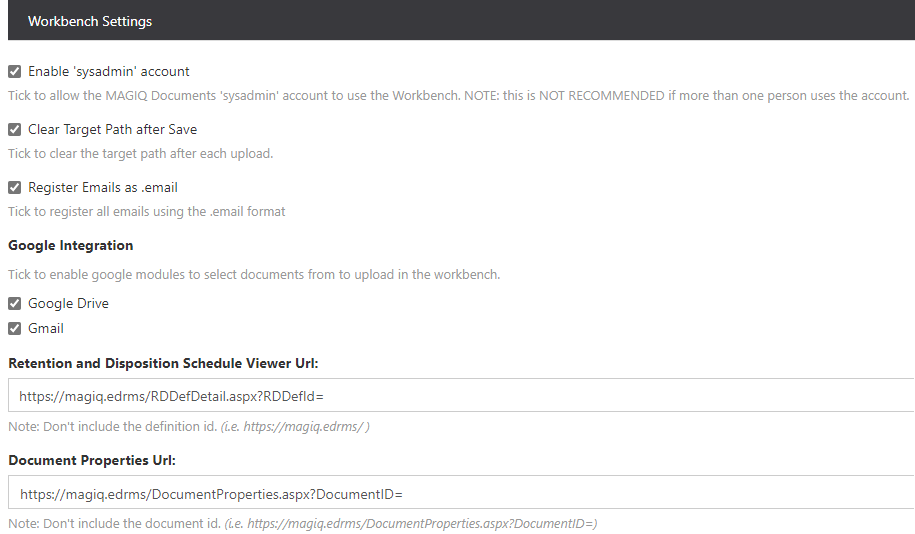
Enable sysdmin account
Used for sites that are using chrome boxes / google mail / Drive.
Clear target path after save
Clears MAGIQ Documents target folder path after each registration.
Register Emails as .email
Registers emails with the extension of .email, instead of .msg. The benefit of a .email file is the ability to open the email in any browser.
Google Integration
If using Google Drive and Gmail the options of 'Google Drive' and 'Gmail' are ticked, which provides the ability to register emails/documents from those locations when using 'Browse'.
Note
If you have logged into MAGIQ Documents as the system administrator and accessed either Gmail or Google Drive from within the Workbench for the first time, it will use your authentication details from your own personal Google account. Which means, whoever logins into MAGIQ Documents as the system administrator from that point on, and opens the Workbench within Googles' authentication period, they will be able to see your emails and documents without them needing to login/authenticate.
If ticked, and a user logs in as the system administrator and tries to access the Workbench, the below message is displayed

Removing Google access to Foundation
- Login to your google account https://myaccount.google.com. If these settings are managed by a google account manager (normally IT), then they must do it for the user.
- Choose the
- Select Connected Apps & Site from the Sign-in and Security gadget
- Click Manage Apps within the Apps connected to your account gadget
- Click MAGIQ Foundation
- Click Remove
- Click ok on "Are you sure that you want to remove access? MAGIQ Foundation will no longer have access to your Google Account. You'll need to grant access if you want to use the app or site again"
Retention and Disposition Schedule Viewer URL
Path which displays the Retention and Disposal schedule when selecting  at document registration time.
Once this is set, it won't need to be changed.
Document Properties URL
Path which displays the infoRouter document properties from the "successful upload" message box.
Once this is set, it won't need to be changed.
Mandatory Fields

Required Fields
Selecting either of the options specifies those fields which are required at registration.
- Document Description
- Document type
- document workflow
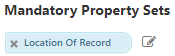
Mandatory property sets
Specify which custom property set(s) are always required regardless on which document type is selected.
- Click

- Select the required property set from the Custom Property Sets List dropdown, for example Document Additional Metadata as this has the date of document, date received and box numbers fields
-
The custom property will appear in blue, as per below example
-
To delete a custom property set, click

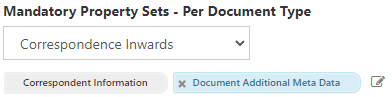
Mandatory property sets - Per Document Type
Specify which custom property set(s) are always required when a document is registered, regardless of the document type chosen.
Note
A default custom property set may already be defined on the document type, through the MAGIQ Documents control panel. In which case you do not need to re-apply it. For example, Correspondence Inwards always has Correspondent Information applied.
- Select the Document Type that you wish to apply a mandatory custom property set to from the Document Types List
- Click
- Select the applicable property set from the Custom Property Sets List
-
The document type with the custom property will display, as per the example below
-
To delete an entry, click
- Click
